
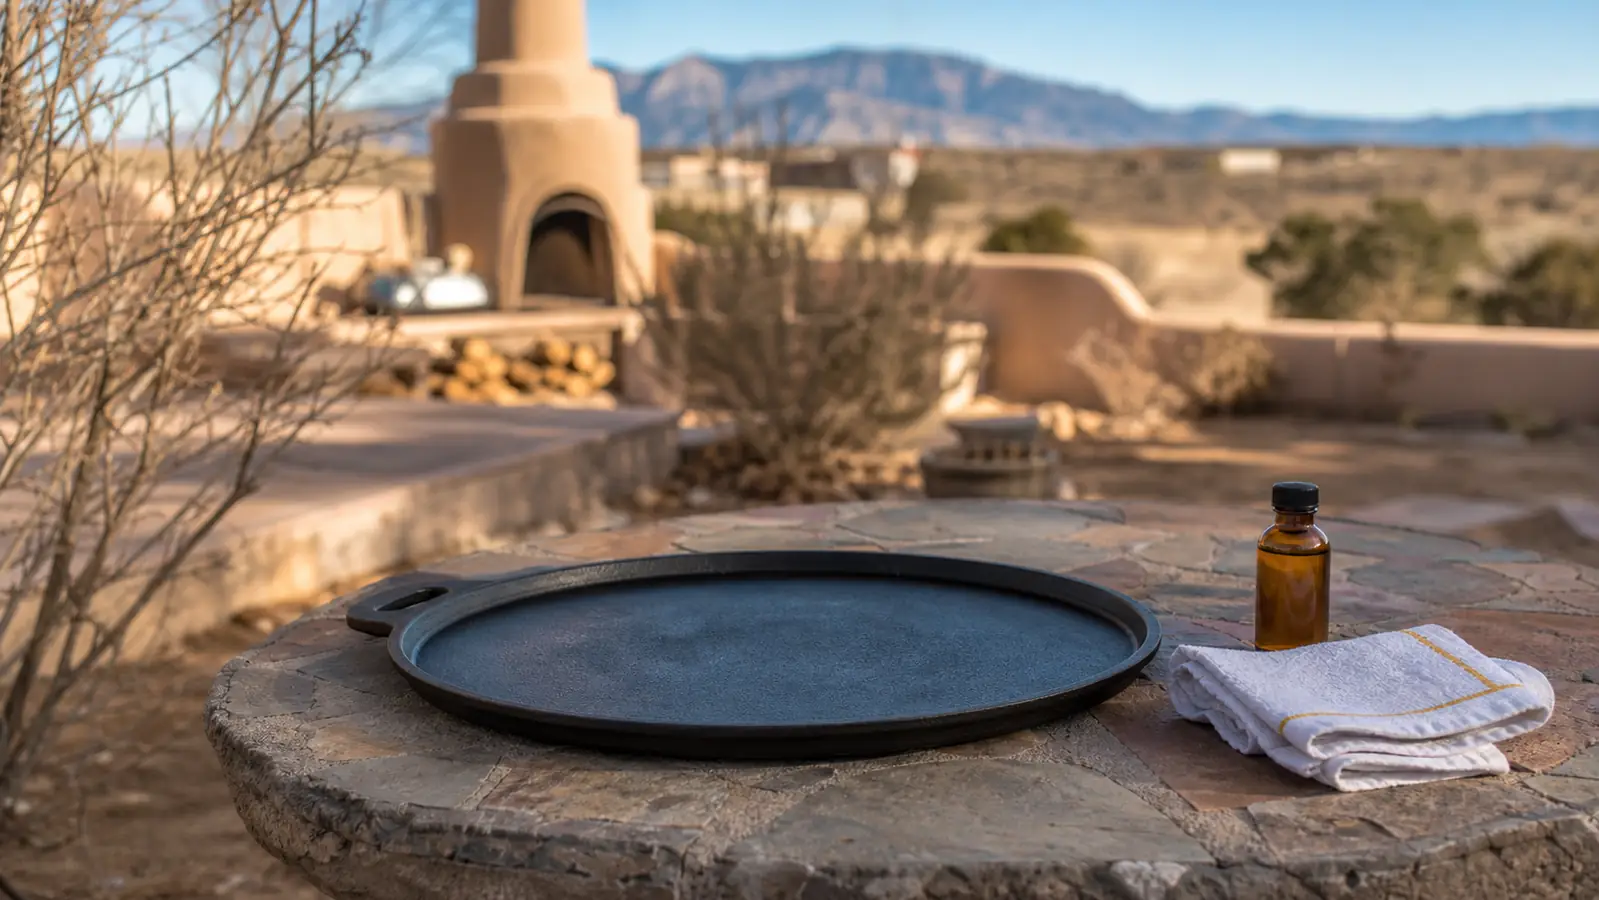
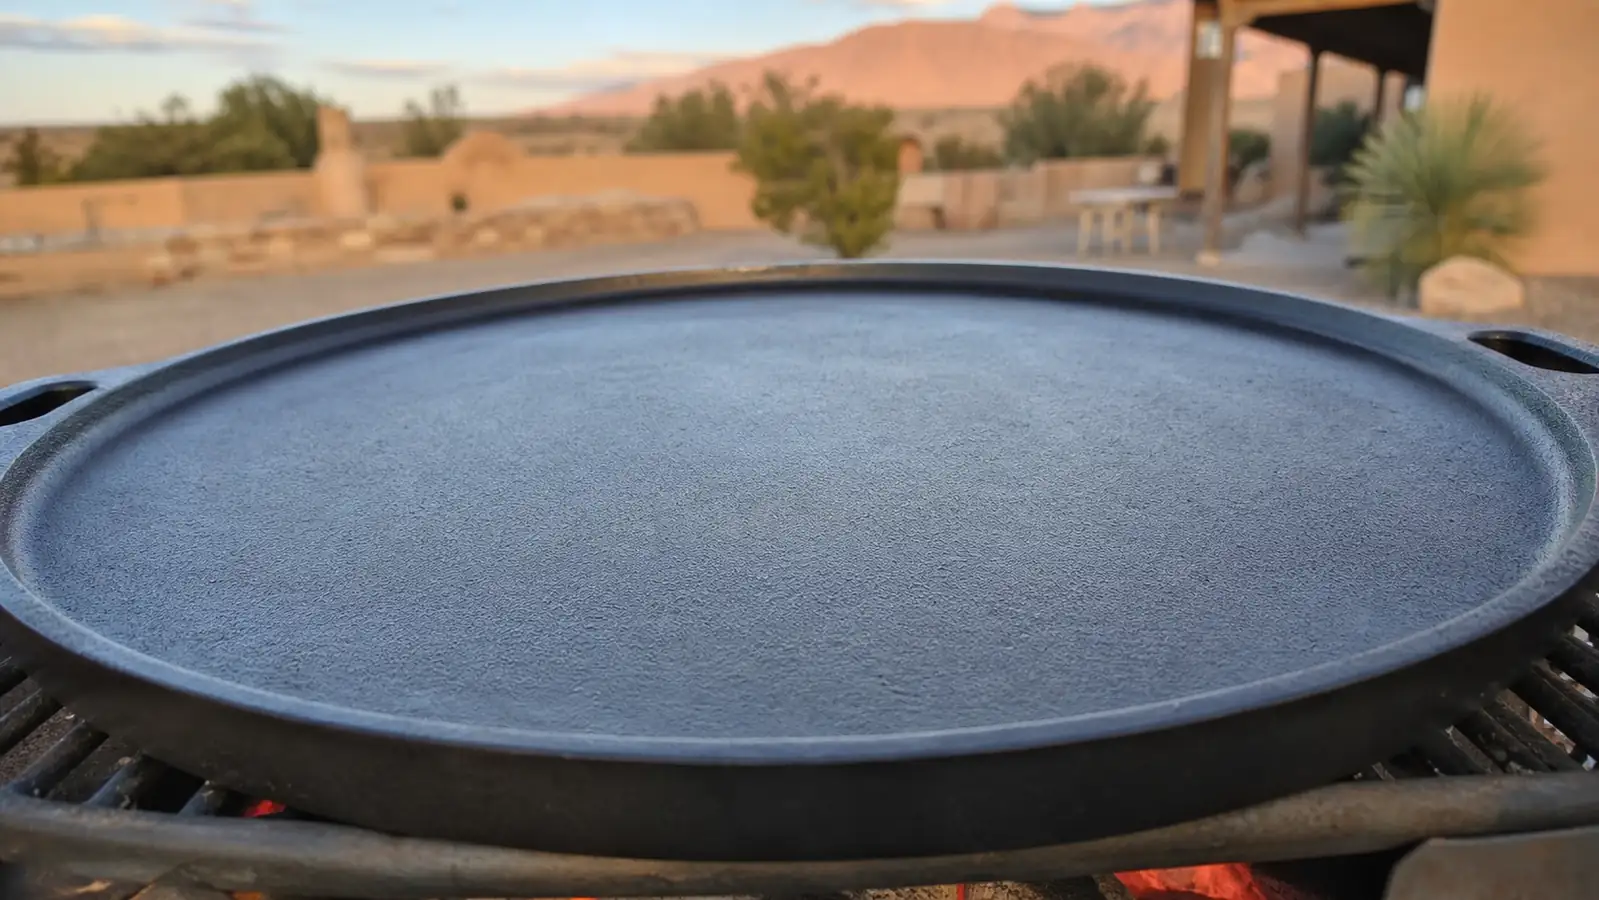
My Lodge reversible griddle came from the factory with what Lodge calls a pre-seasoned finish, and that finish is real, but it is thin. It gets you through the first few breakfasts without eggs welding themselves to the flat side, then it starts to thin out fast once you're running it over open coals instead of a stovetop burner, which is a very different kind of heat. Charcoal heat is not the gentle, even warmth of a gas range. It runs hotter, it runs uneven, and out here at 5,000 feet in Albuquerque it climbs faster than most seasoning guides assume, since the thin, dry air lets my chimney of charcoal catch and burn hotter than it would at sea level. A seasoning layer that would hold up fine on a kitchen stovetop can start flaking or going sticky within a season of real grill use if you skip the steps that actually matter.
This guide walks through the exact method I use to build and maintain a seasoning layer on a cast iron griddle that lives outside on a grill cart, not in a cabinet next to the stove. It works whether you're starting fresh on a new Lodge griddle, restoring one that's gone rusty or gummy, or just keeping up the routine after every cook so you never have to strip it down again. Both faces need the same treatment, the flat side for eggs and smash burgers and the ridged side for steaks and vegetables, since it's easy to season one side well and forget the other exists until it rusts. I'll flag where the high desert changes the numbers, since water boils around 202 degrees Fahrenheit up here instead of 212, and that changes how fast moisture drives off the metal even if it doesn't change the oil chemistry that actually builds seasoning.
Tired of Eggs Sticking to a Griddle That Should Be Nonstick by Now?
This whole method assumes real cast iron with enough mass to hold heat evenly, the same reversible Lodge grill and griddle pan I've been seasoning and reseasoning on top of my kettle for over a year now.
Amazon Check Today's Price on Amazon →Step 1: Check Whether You Actually Need to Strip It First
Not every griddle needs to go back to bare metal. If yours already has a smooth, matte-to-satin black surface and food is releasing reasonably well, skip straight to Step 2 and just build on what's there. Stripping is only for a griddle that's rusted, has gone sticky and gummy from old oil that never fully cured, or has patchy bare spots showing that dull grey iron underneath. I stripped mine once, back in month six, after I left it wet in the sink overnight and found a rust patch near one handle the next morning.
For light surface rust, a few minutes with fine steel wool or a chainmail scrubber and hot water gets you back to clean metal without touching anything that doesn't need it. For a fully gummy, flaking coat, I've had good luck scrubbing with hot soapy water and a stiff brush, which is one of the only times I'll actually use soap on cast iron, since the goal there is to strip old degraded oil, not preserve seasoning that's already failed. Dry it immediately and completely, because bare iron flashes rust fast, especially outdoors where it's exposed to more humidity swings than a griddle stored inside ever sees.
If the rust or gunk is heavy across the whole surface, a longer soak in equal parts white vinegar and water, checked every 15 minutes so you don't eat into good metal, will loosen it faster than scrubbing alone. A neighbor of mine runs his worst pieces through a self-cleaning oven cycle to burn old seasoning off completely, and it works, but I've never tried it on this griddle since the heavy handle and reversible shape make it awkward to fit safely on an oven rack. Once the griddle is back down to bare grey iron on every surface, including the underside and the handle, you're ready to build seasoning from scratch, which is exactly what the rest of this guide walks through.
Step 2: Wash and Dry It Completely
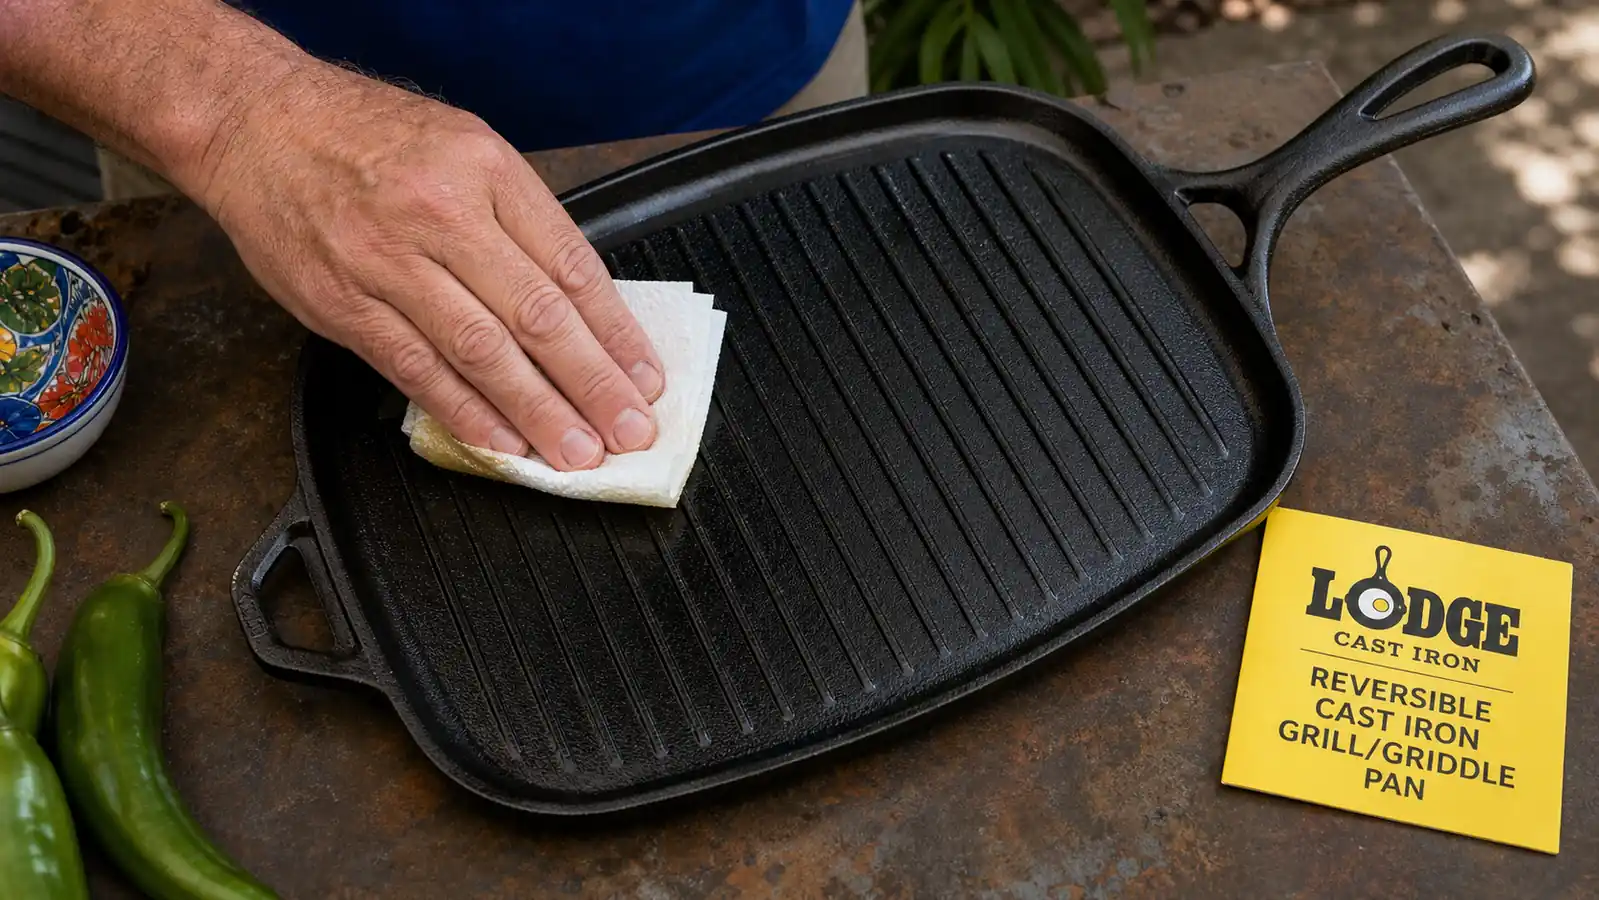
Whether you just stripped it or you're simply prepping a lightly used griddle for its first real seasoning cycle, start with a wash in hot water and a stiff brush to clear off any dust, grease, or leftover residue. Dry it with a towel right away, then set it on a burner or over a few lit coals on low heat for two or three minutes. That extra step matters more than it looks like it should, since cast iron is porous and holds trace moisture in the surface even after it looks bone dry to the eye.
At this altitude, water boils around 202 degrees instead of the 212 you'd get at sea level, so that residual moisture actually drives off a touch faster once the metal warms up. That's a small mechanical advantage, not a shortcut, so don't skip the drying step just because you're cooking at elevation. Any moisture left trapped under the oil in the next step will interfere with a clean, even seasoning layer and can leave faint blotchy patches once the griddle cools.
Step 3: Apply a Thin, Even Coat of High-Smoke-Point Oil
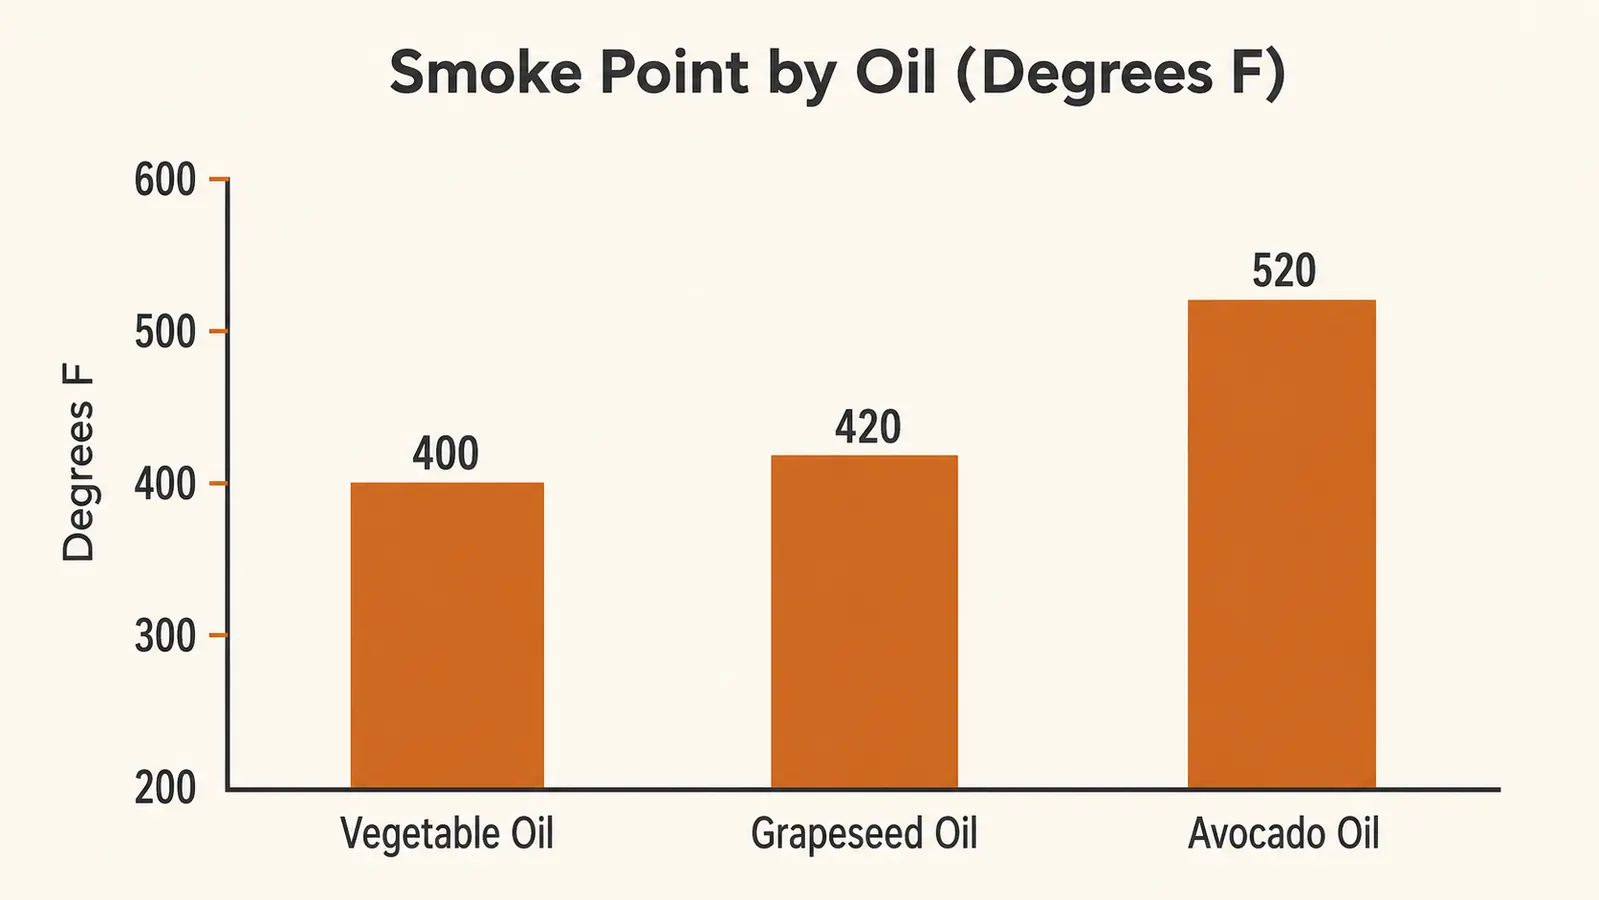
This is the step people get wrong most often, and it's almost always in the direction of too much oil, not too little. Pour a small amount, about a teaspoon, of a high smoke point oil onto the griddle. Grapeseed oil, with a smoke point around 420 degrees, and avocado oil, closer to 520 degrees, both work well and are what I keep on hand for this. Skip olive oil, butter, or anything with a smoke point under 400 degrees, since those will smoke and scorch before the temperature you need in the next step ever gets reached.
Rub the oil into every surface, the flat side, the ridged side, the edges, the handle, and the underside, using a cloth or folded paper towel. Then take a second clean paper towel and wipe the whole griddle down again, harder than feels necessary, until it looks almost dry to the touch. You want a film so thin it barely reads as oil at all. A thick, glossy coat looks like it's doing more, but it actually pools and turns gummy or sticky once heated, instead of polymerizing into that hard, smooth seasoning layer you're after. Thin coats, applied several times, always beat one heavy coat.
Step 4: Heat It Above the Oil's Smoke Point Until It Stops Smoking
The oil has to actually cross its smoke point and hold there for the chemical change called polymerization to happen, which is what turns a liquid oil into a hard, bonded seasoning layer instead of a greasy film that wipes off. In the oven, that means setting it to 450 to 500 degrees, placing the griddle upside down on the top rack with a sheet of foil below to catch any drips, and letting it run for 45 to 60 minutes. Upside down keeps oil from pooling in the center as it heats. My oven at this elevation seems to reach that range about as fast as any sea-level oven would, since a home oven's thermostat is measuring air temperature, not adjusting for barometric pressure the way an open flame does.
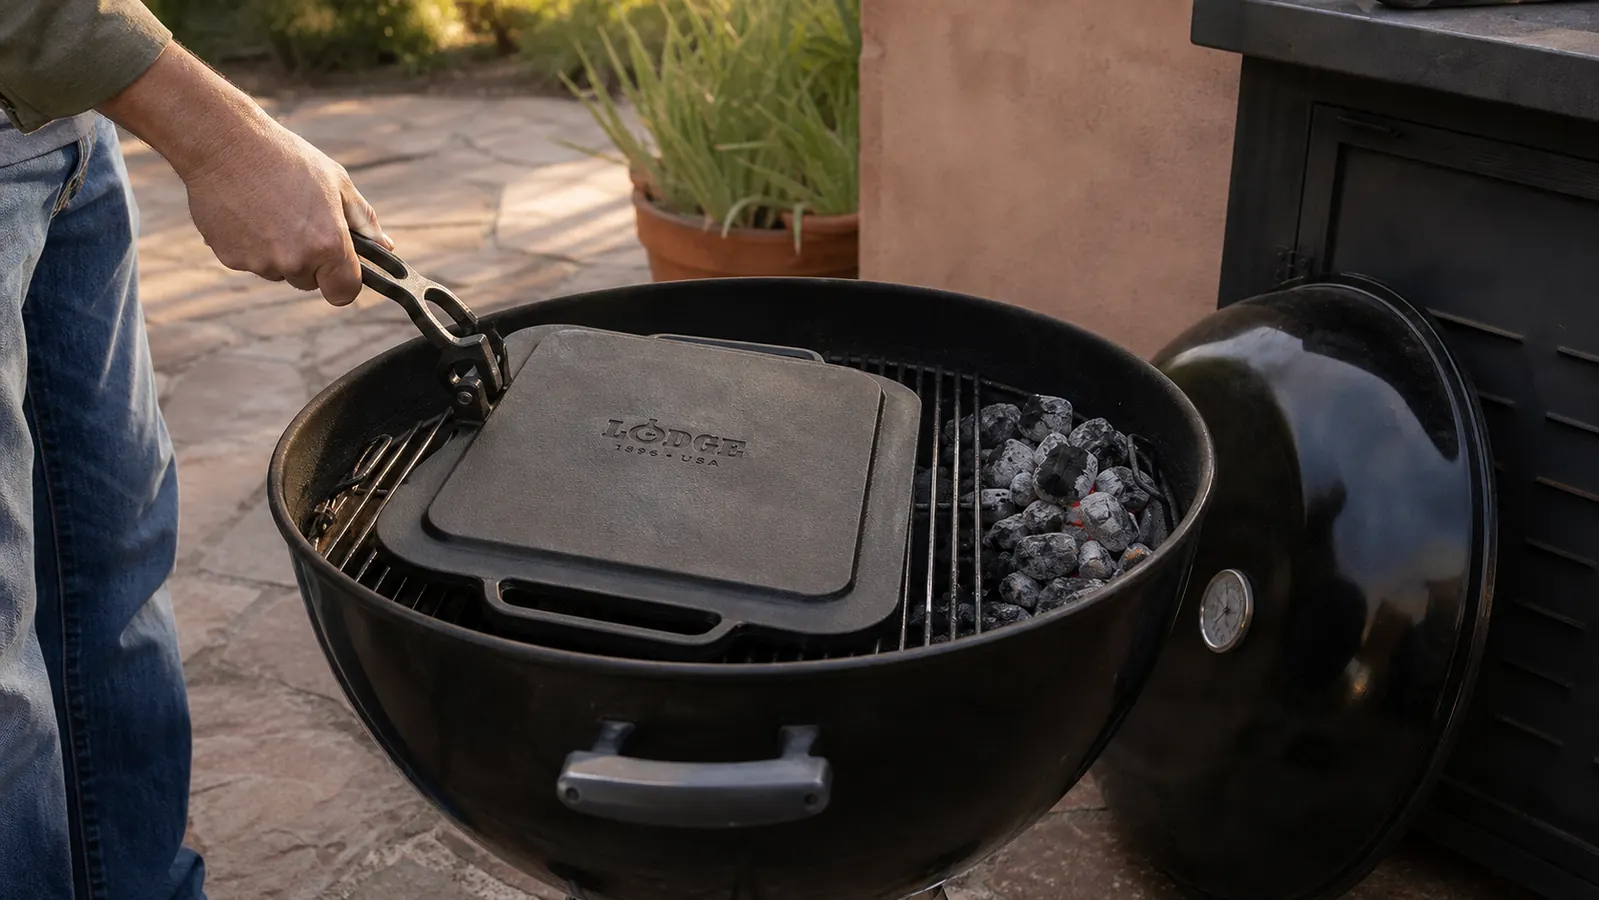
On the grill itself, which is where this griddle actually lives for me, I bank coals to one side of the kettle, set the griddle across the grates on the empty side for indirect heat, close the lid, and aim for that same 450 to 500 degree range on a lid thermometer, holding it there for the same 45 to 60 minutes. You will see smoke during the first stretch of this, sometimes a fair amount, and that's the oil crossing its smoke point and doing its job. It should taper off and mostly stop by the time you're near the end of the hold, which is your sign the layer has set.
Once the timer's up, let the griddle cool down inside the closed oven or under the closed grill lid rather than pulling it straight out into cold outdoor air. Cast iron this thick is fairly forgiving, but a sudden temperature swing is still a stress you don't need to introduce for no reason, and a slow cool gives the new layer time to fully harden before it gets handled again.
Step 5: Repeat, Then Maintain It After Every Cook
If you stripped the griddle down to bare metal in Step 1, one heat cycle is not enough. Repeat Steps 3 and 4 two to three more times, letting the griddle cool fully between each round. Each pass builds another thin layer on top of the last, and by the third or fourth cycle you should have a smooth, semi-glossy black finish across the whole surface instead of the dull grey you started with. This is exactly the buildup that took roughly a dozen cooks to develop naturally on my Lodge griddle when I first bought it, and running the oven or grill cycles up front gets you most of the way there before you've cooked a single meal on it.
After that, maintenance is quick. Wipe out any food debris while the griddle is still warm, rinse with hot water using a stiff brush or a chainmail scrubber, skip soap unless something really stuck, then dry it on residual heat for a couple minutes and rub in one more thin coat of oil while it's still warm, wiping off the excess the same way you did in Step 3. Do that after every single cook and you will rarely, if ever, need to strip the griddle back down again.
What Else Helps
A chainmail scrubber earns its keep here more than any specialty cast iron cleaner I've tried, since it knocks food residue loose without stripping the seasoning underneath the way steel wool can if you're not careful. I also keep a dedicated bottle of grapeseed oil next to the grill cart instead of walking it in from the kitchen every time, since a maintenance coat only takes thirty seconds and I'm far more likely to actually do it if the oil is sitting right there. If you're seasoning outdoors on the grill instead of in the oven, do it on a day with light wind, since a gust can push smoke and heat around unevenly and make one side of the griddle finish faster than the other. And never store a freshly oiled griddle stacked directly against another pan while it's still tacky. Slide a folded paper towel between them so the new layer isn't pressed against bare metal before it's had a chance to fully set.
One quick way to check your work before you trust the griddle with a full breakfast for company is a single fried egg on the flat side over medium heat with no extra oil beyond what's already seasoned in. If the egg slides around freely and releases clean with a thin spatula, the layer is doing its job. If it grips and tears, that's a sign a spot got skipped or under-oiled somewhere in the process, and it's worth going back for one more thin coat and heat cycle over just that area rather than pushing through with a griddle that isn't quite ready.
Thin coats, applied a few times, build a seasoning layer that actually holds up to open coals. One thick coat just gives you something sticky to scrape off later.
Ready to Build a Seasoning Layer That Survives Open Coals?
Everything above is the exact routine I run on the Lodge reversible grill and griddle pan, the same piece that's cooked smash burgers and Sunday eggs on top of my kettle for over a year without a single rust problem I didn't cause myself.
Amazon Check Today's Price on Amazon →