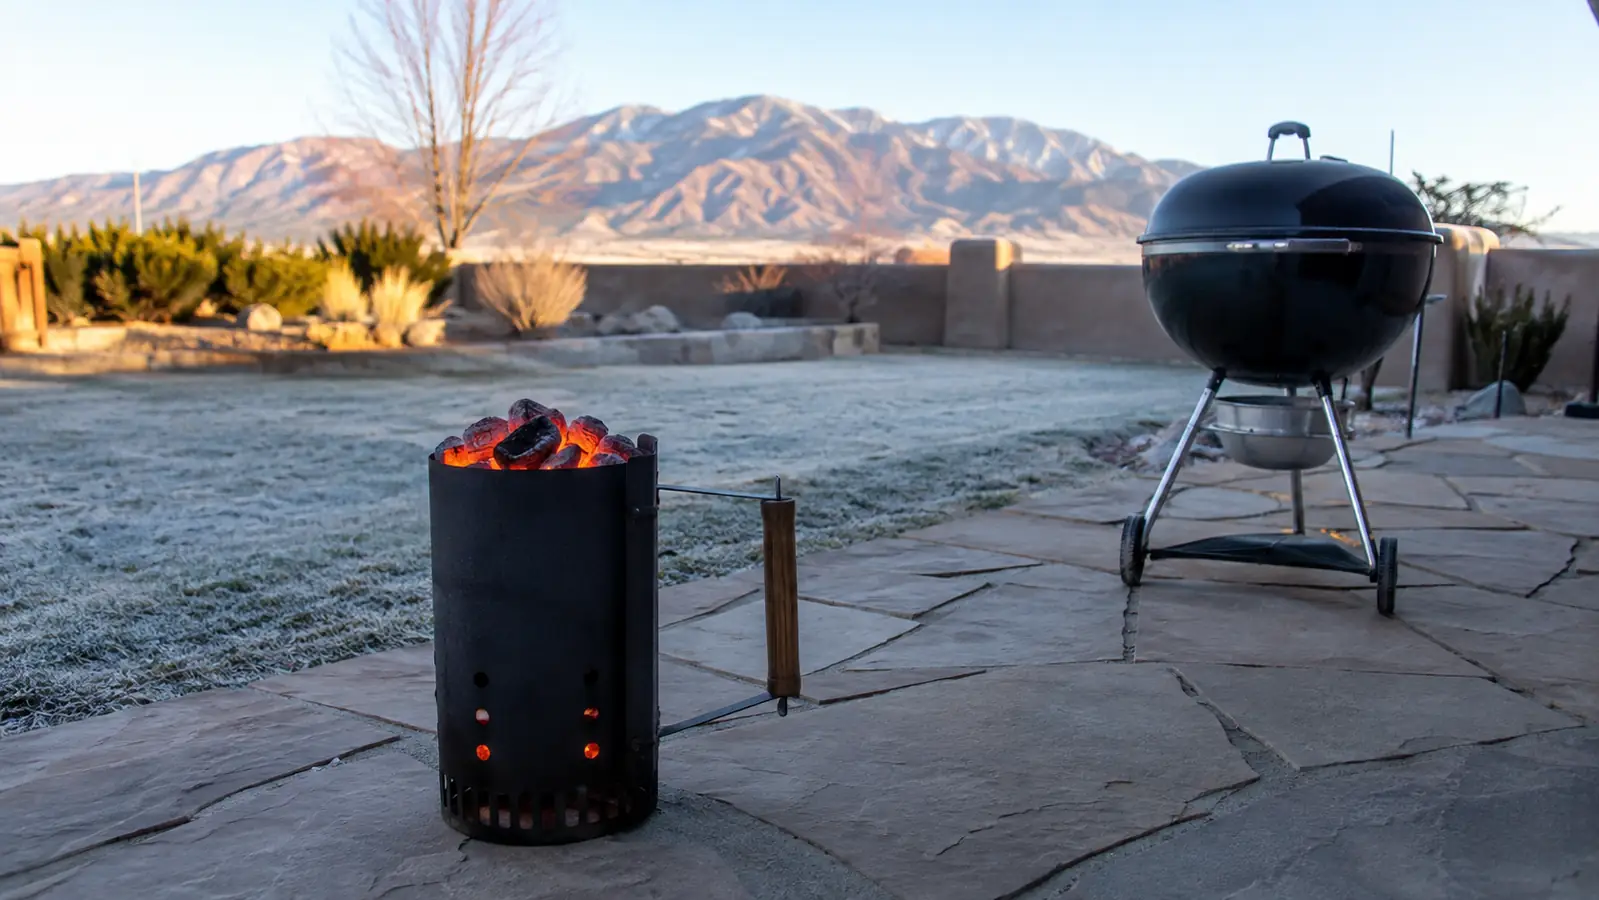
Most of the fire complaints I hear from neighbors here in Albuquerque aren't about seasoning or grate temperature, they're about getting the coals lit in the first place. Somebody dumps a pile of briquettes straight onto the charcoal grate, soaks it in lighter fluid, and stands around for 25 minutes waiting on coals that carry a faint gas station smell into the first round of burgers. I did the same thing for years until a neighbor loaned me his Weber Rapidfire chimney starter back in 2019, and I haven't lit a fire any other way since. No fluid, no chemical aftertaste, and at 5,000 feet, where my air runs thinner and drier than most of the country gets, a full chimney of coals is completely ashed over in well under 20 minutes.
A chimney starter isn't complicated gear. It's a metal cylinder with a wood handle riveted to the side and a wire rack partway down that holds the coals above a chamber of burning newspaper. But there's a right order to load it, light it, and dump it, and getting that order wrong is the difference between coals ready in 13 minutes and coals still half black at the 25 minute mark with you standing there second-guessing whether you need the lighter fluid after all. Below is the exact sequence I run every time I fire up my Weber chimney starter, plus the two altitude-specific adjustments I had to learn the hard way before my timing actually got consistent.
Skip the Lighter Fluid Entirely
Newspaper, charcoal, and a match are all a chimney starter needs. I've run my Weber Rapidfire chimney starter for two seasons and it still gets every cook lit without a drop of fluid or a fluid aftertaste in the smoke.
Amazon Check Today's Price on Amazon →Step 1: Set Up on a Safe, Non-Flammable Surface
Before any newspaper or charcoal goes near the chimney, decide where it's going to sit while it lights. That means bare concrete, stone, brick, or the metal charcoal grate of a cold grill with the lid off, never a wood deck, never a plastic table, and never anywhere close to siding, a railing, or an overhang. A full chimney throws real heat straight up and out the top vent holes for the entire time it's lighting, and stray sparks can drift further than people expect on a breezy evening. I keep a clear three-foot circle around mine on the flagstone patio, away from the porch overhang, every single time.
Have a heat-resistant glove within reach before you strike a match, not after the coals are already glowing. I keep a leather welding glove hanging on a hook right next to where I store the Weber chimney starter, because there's always a moment near the end where you need to grab the handle or nudge the chimney and a kitchen oven mitt just isn't built for that kind of direct heat. Keep kids and dogs clear of the setup area too. My grandkids know the flagstone circle around the grill is a look, don't touch zone the second the chimney comes out.
Clear the ground around your safe surface while you're at it. Move the charcoal bag itself back a few feet once you've filled the chimney, along with any newspaper you haven't used yet, a can of grill spray, or anything else that could catch a stray spark. It takes ten seconds and it's the kind of habit that only feels unnecessary right up until the one evening it isn't. I do this same walk-around every time now, even on a calm night, because the nights that bite you are rarely the ones you were already worried about.
Step 2: Load Newspaper Low, Charcoal High
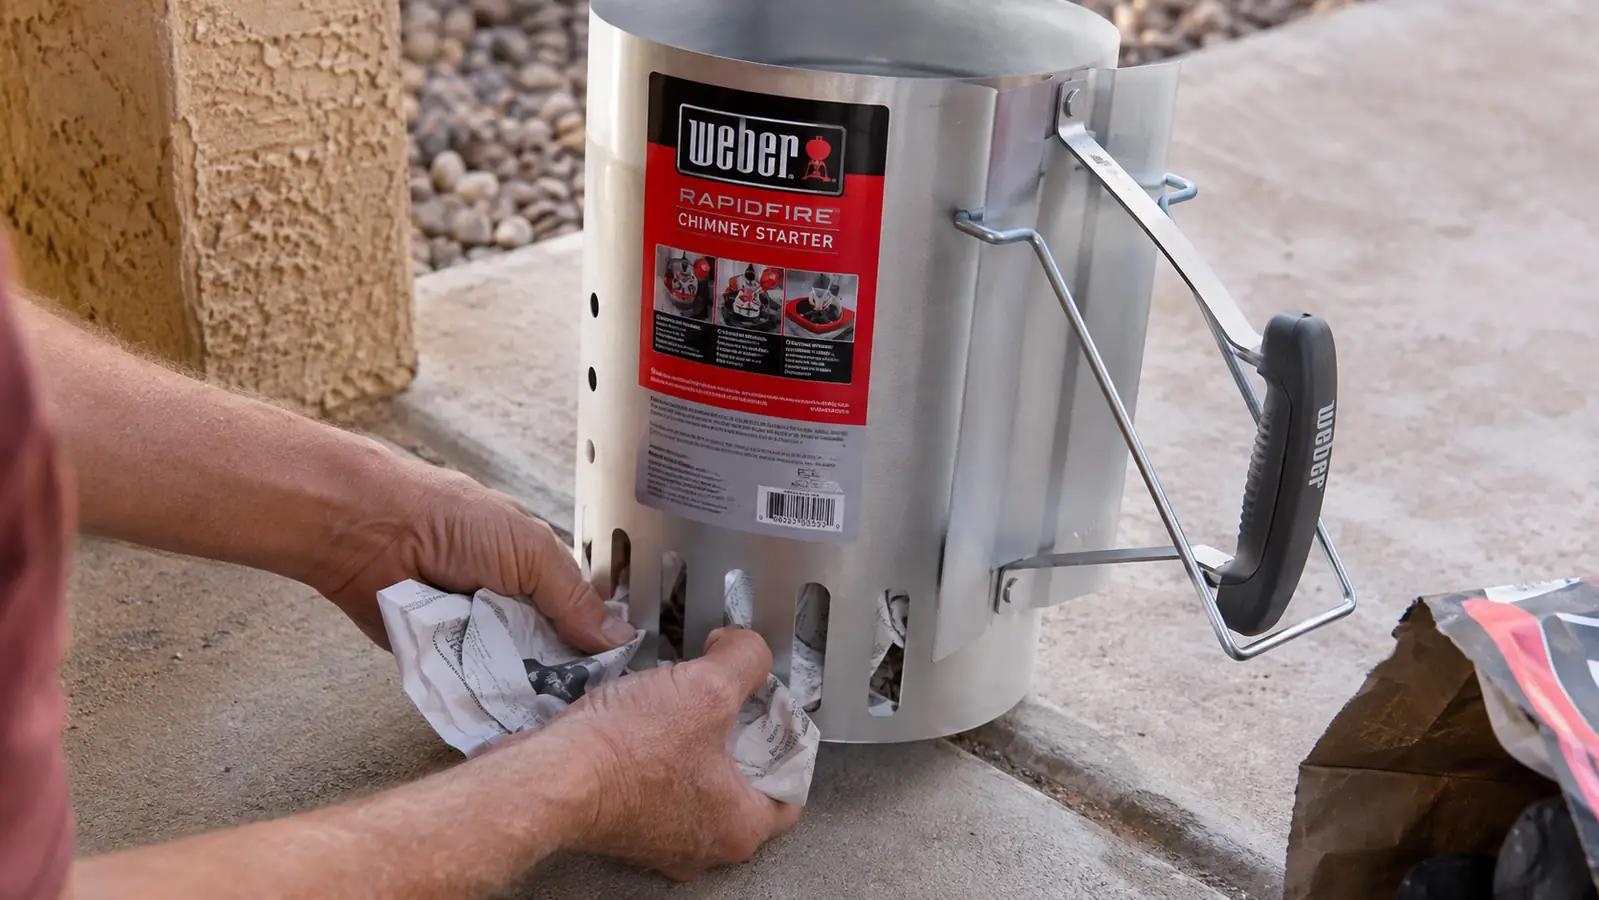
Take two full sheets of newspaper and crumple each one loosely into a ball, not packed tight. A tight ball burns slower and can smolder instead of catching a real flame, while a loose one gives air room to move through it. Set the empty chimney down on your safe surface and tuck both balls up into the bottom chamber through the side vent holes so they sit just under the wire rack. This is the part people rush, and a poorly seated wad of newspaper is the single biggest reason a chimney takes forever to catch.
Once the paper is in, fill the top chamber with charcoal. The Weber Rapidfire chimney starter holds close to 100 briquettes at a full load, which is plenty for a two-zone fire on a 22-inch kettle or a hot sear on a full grate of steaks. For a smaller cook, a half load of around 50 briquettes lights faster and burns down to a workable size sooner, which is what I use on a weeknight when it's just my wife and me and four chicken thighs. Lump charcoal works too, figure roughly 5 to 6 pounds for a full load, though lump catches a little faster and burns a little hotter than briquettes in my experience.
One thing worth checking before you load either kind: make sure your charcoal is actually dry. A bag that's been sitting in an open garage through a wet spring or left uncovered after a rainstorm picks up moisture, and damp charcoal takes noticeably longer to catch even once the newspaper underneath is burning well. I keep my bags on a shelf, off the concrete floor, in a plastic tote with a lid. It's a small thing, but I've had a bag go soft on me once and it cost a good ten extra minutes I didn't plan for.
Step 3: Light the Paper From the Bottom Vents
Use a long lighter or a match held right up against the bottom vent holes where the newspaper is tucked in, not the top of the chimney. Light it in two or three spots spaced around the base so the flame catches evenly instead of crawling up from a single point. You'll hear the paper catch first, a quick crackle, then see flame licking up through the vent holes within a few seconds. Give it a moment before you walk away. If a gust puts it out before the paper really gets going, don't reach for lighter fluid to save it, just add a fresh loosely crumpled sheet through the same vent holes and relight.
Wind is the one variable that gives my Weber chimney starter trouble, more than altitude ever has. Albuquerque throws a steady evening breeze off the West Mesa most spring and fall evenings, and an open flame at the base of the chimney can get snuffed by a strong gust right after lighting. I keep a cheap galvanized wind guard, basically a bent piece of sheet metal, propped on the windward side whenever there's any breeze at all. It's not required gear, but it's saved me from relighting more than once.
Stick around for the first 60 seconds instead of heading straight back inside. That's usually long enough to know whether the flame really caught or whether it's fading and needs a second look before it goes out completely. I've learned to actually watch it lick up through the vents on all sides, not just one, before I trust it and go start prepping whatever's going on the grill. A flame that's only caught on one side of the base tends to stall out on its own.
Step 4: Watch for Full Ash-Over, Don't Rush the Timer
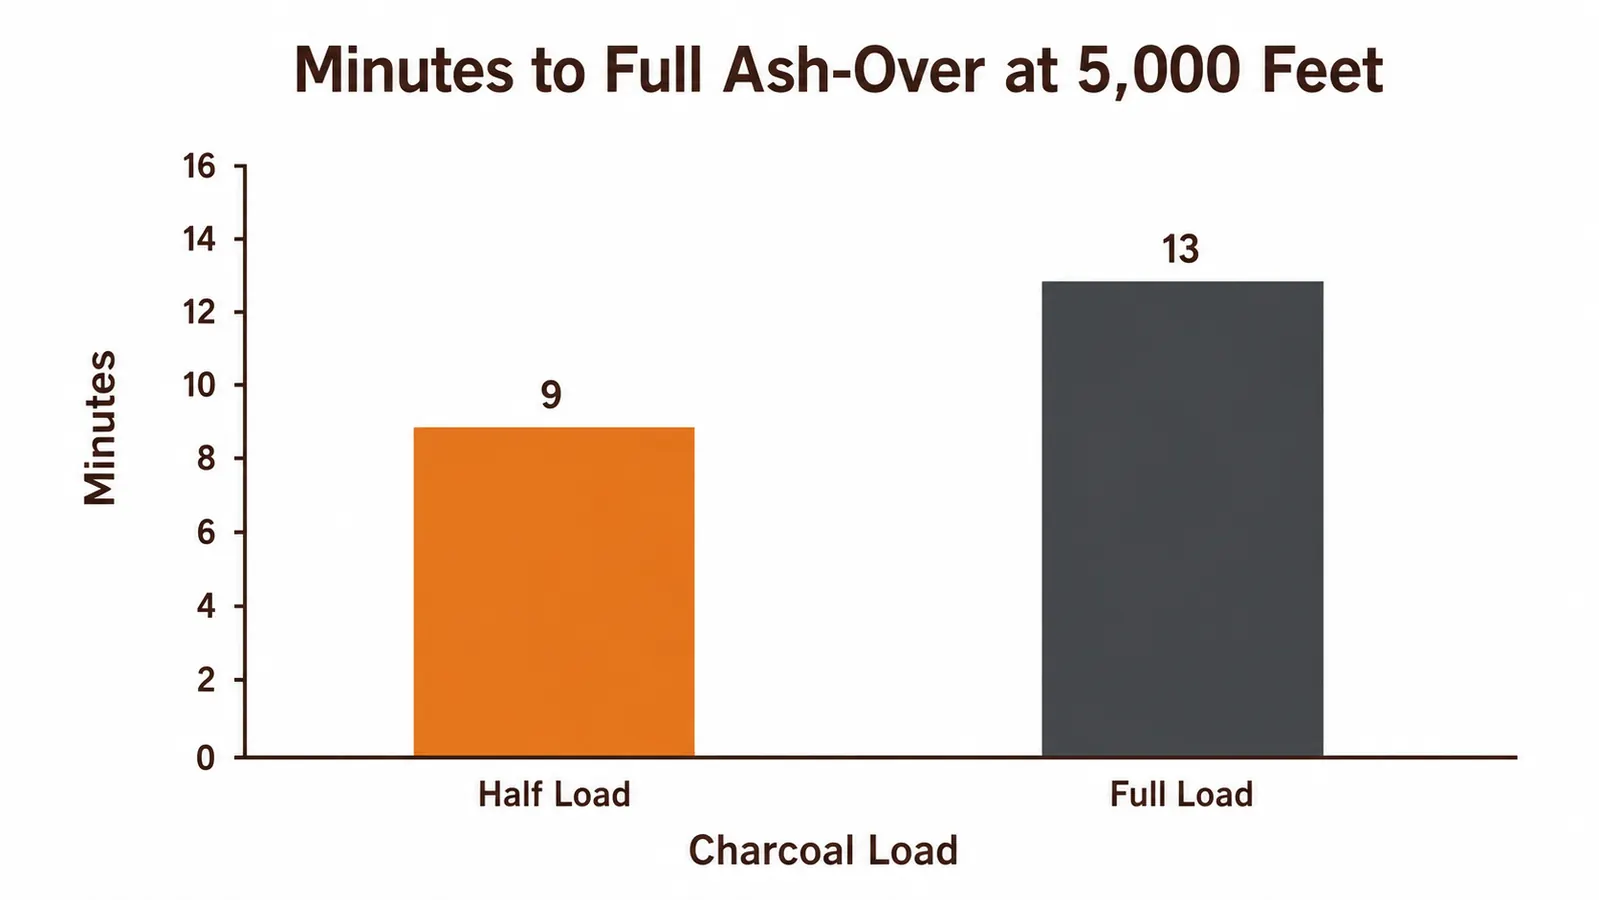
This is where elevation actually changes the numbers. At 5,000 feet the air is thinner and drier, which means more oxygen movement through the vent holes relative to sea level humidity and a faster burn overall. Timing myself on a kitchen timer over a dozen or so cooks, a half load of briquettes in my chimney starter reaches full ash-over in about 9 minutes, and a full load takes closer to 13 minutes. At sea level, or on a humid evening anywhere, I'd expect both of those numbers to run a few minutes longer.
Full ash-over means what it sounds like: the top layer of coals has gone from black to glowing orange to coated in a light gray ash, and you can't spot any raw black charcoal left on the visible surface. You'll also notice the crackling settle down to a steadier, quieter roar, and if you look straight down the top of the chimney you'll see consistent orange glow instead of patches. Don't dump the load the second you see a little orange at the top. Wait for that gray coating across the whole surface, or you'll be starting your cook with a fire that's still building instead of one that's ready to hold a steady temperature.
Step 5: Dump the Coals and Build Your Fire
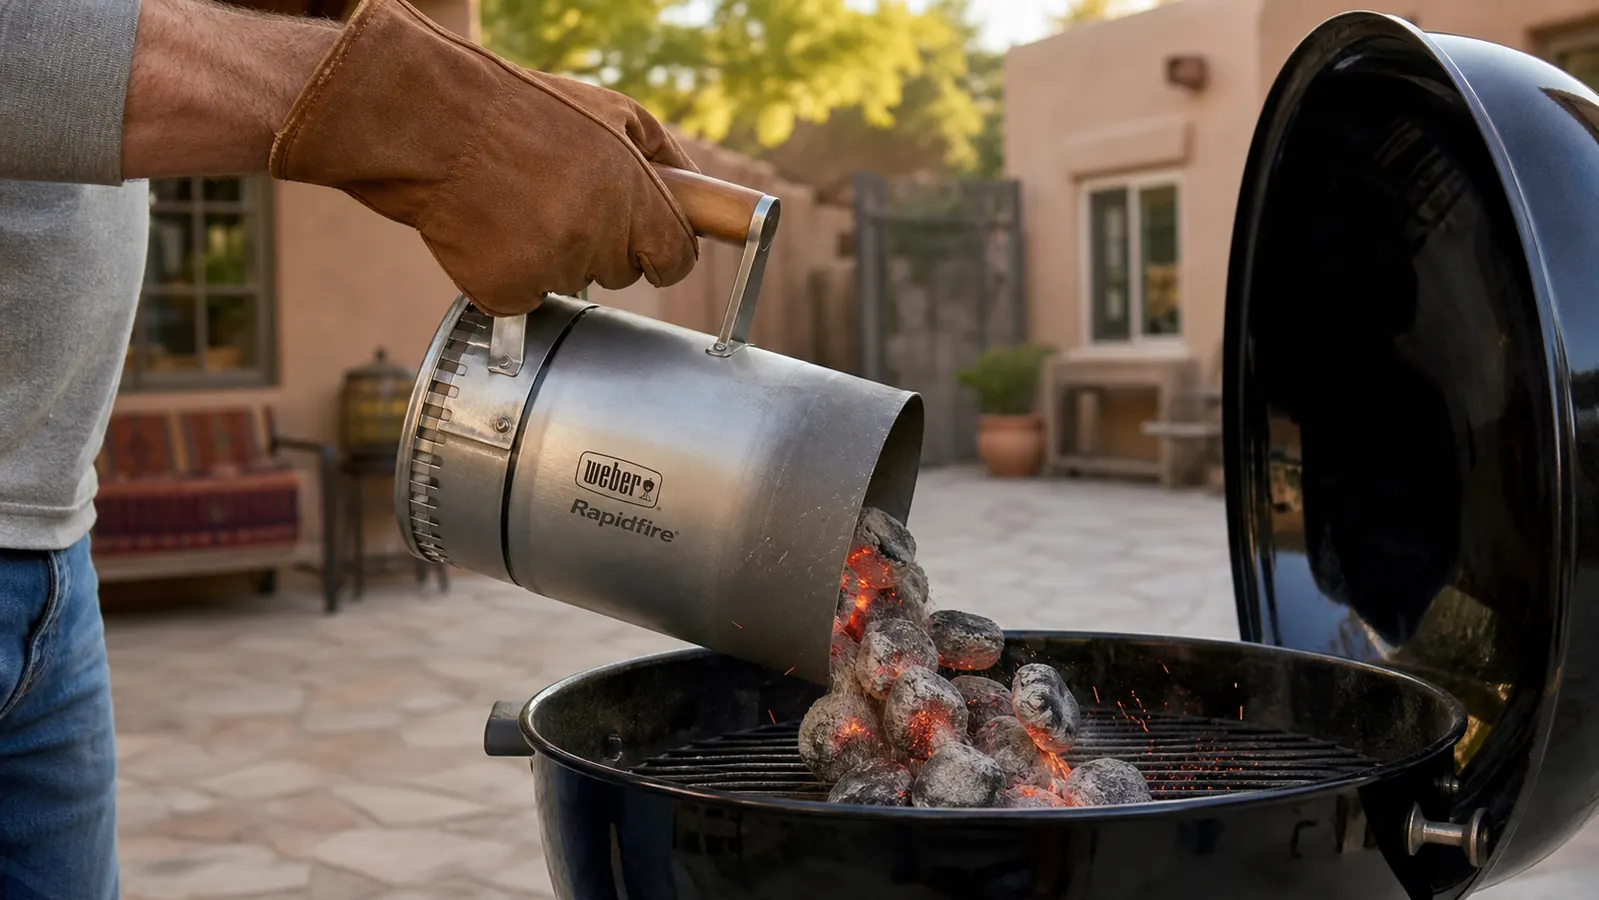
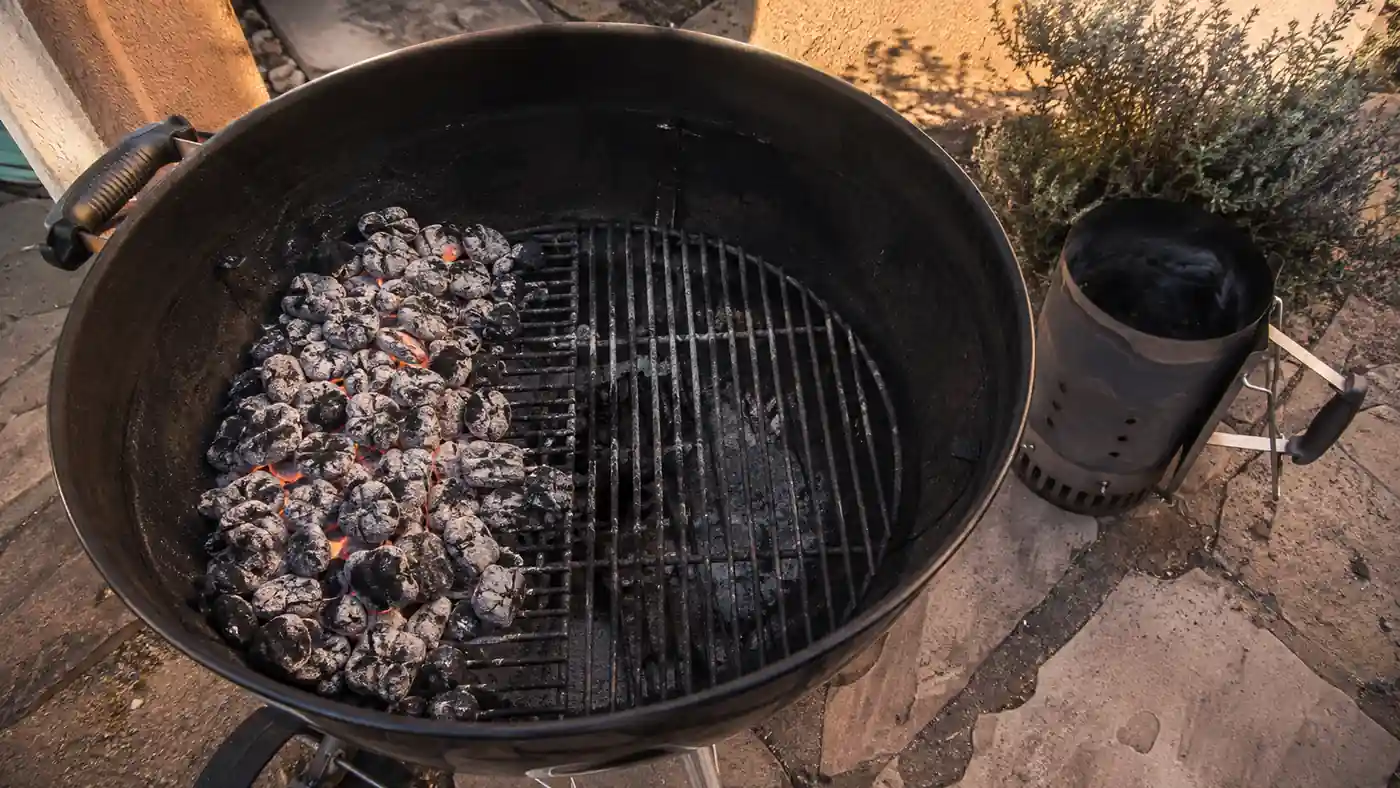
Put the heat-resistant glove on before you touch the handle. Grip the wood handle firmly, lift the chimney straight up off the ground, and tip it forward over the grill's charcoal grate so the coals spill out in one steady motion rather than a slow trickle. Once they're down, use a grill tool or a long pair of tongs to arrange them, either spread flat and even across the grate for a straightforward sear, or banked to one side for a two-zone fire when I'm cooking something that needs both direct heat and a cooler resting side, which covers most of what I grill on a weeknight.
Set the cooking grate back on, open the top and bottom vents fully, and give the coals another 5 minutes with the lid off before you start cooking. That last stretch lets the fire settle into a steady burn instead of the sharper heat spike right after dumping. Set the empty Weber chimney starter down on the same non-flammable surface you started on and leave it alone. It stays genuinely hot for a good while after an empty dump, and I've scorched a spot on my patio table more than once by setting it down somewhere I shouldn't have out of habit rather than thinking it through.
When the cook's done, don't forget the ash sitting in the bottom of the grill afterward. Let it cool completely, usually overnight, then scoop it into a metal container with a lid before you set it aside, never a paper bag or a plastic bin. Coals can hold enough heat to smolder for a surprisingly long time even when they look cold on top. That's a habit I picked up from my dad, and it's kept more than one trash can from turning into a problem.
What Else Helps
A cheap wind guard earns its keep on breezy evenings, and a long-reach butane lighter beats matches once your hands are full of glove and tongs. Keep your newspaper dry, a damp sheet just smolders instead of catching, and I keep a stack in a covered bin by the grill for exactly that reason. If you're cooking at elevation like I am, build in an extra few minutes on a cold or windy night rather than trusting the clock from a warmer evening. And resist the urge to peek by tipping the chimney sideways to check progress. Every time you do that you dump heat and slow the whole process down.
If you're mixing in wood for smoke, add it once the coals are dumped and settled, not before. I'll toss a couple of chunks of mesquite or pecan straight onto a fresh two-zone fire once it's arranged, and by the time the grate heats up they're already smoking clean instead of smoldering white. Skip soaking the wood chunks in water first, that just delays combustion and does nothing for flavor. A well-lit fire from a properly loaded chimney starter is a better base for good smoke than any amount of fiddling with wet wood or extra fluid ever was for me.
The whole point of lighting a fire this way is that you stop tasting the fire you started. All you taste is the meat and the smoke you actually meant to put there.
Get Ready Coals in Under 20 Minutes, Every Time
Once you've run a chimney starter a handful of times, going back to lighter fluid feels like a step backward. Grab the same Weber Rapidfire chimney starter I've used for every cook since 2019 and light your next fire the clean way.
Amazon Check Today's Price on Amazon →